This guide is simply to help all those who would engage in the adventure to install aftermarket the support for the ORIGINAL BLUETOOTH in their Corsa D. Any suggestion is welcome.
Abstract:
If your Corsa has the steering wheel controls, the car stereo (any version), the large display (GID or CID) and the ceiling light with courtesy lights then you can continue to read, because your car is ready to receive its new option.
What you need is:
1: Wiring ISO OPEL / VAUXHALL: Available at the popular online auction site or elsewhere (eg http://www.telefon.de/produkt.asp?gruppe=100_144&products_id=38362)
2: Original UHP4 Bluetooth module, Opel ref: 17 88 440
3: Original Opel/Vauxhall Microphone , Opel ref: 17 88 785 (may fit other mics but I have not done any testing)
4: A 32 PIN connector, Volkswagen ref: + 1J0972977D respective pin, ref VW: 000979018A
5: A blown fuse 7.5 A +
6: wires, pliers, heat shrink tubing, stripping … first read the article to see what you need
7: Tech 2 (in Opel I met extremely available and competent people, ask them)
8: Optional: support for the unit UHP4 ref: 13188850
9: Accessories for the extraction of the car radio
Procedure:
As the figure above, connect the wires as follows:
Pins 13 and 29 of UHP to Pin 9 of the radio
Pins 14 and 30 of UHP to Pin 10 of the radio
Pin 11 of the UHP to Pin 40 of the radio
Pin 23 of the UHP to Pin 11 of the radio
Pin 27 of the UHP to Pin 34 of the radio
UHP pin 9 to black wire of the microphone
UHP pin 25 to white wire of the microphone
Pin 16 of the UHP to Pin 12 of the radio (GND)
UHP Pin 32 to Pin 15 of the radio and with the 7.5 A fuse in the middle. (With fuse)
Keep in mind that the unit will go from pillar mounted on the passenger side (right side) and that the wires must be long enough to go to the radio mast (and the microphone up to the rearview mirror, but you should have already bought with the wires).
After completing the connections you can go by car, turn off the dashboard and remove the key. Now do the following:
- Remove radio and disconnect the connector from ISO and the antenna.
- Remove the glove box: to do this before you open the drawer and there are 2 torx screws above and then close the pad, 2 torx screws underneath.
- Route the cables towards the windscreen right side, leaving the ISO connectors in the dashboard radio.
- Disassemble the right cover of the windscreen. WARNING there is an air bag string and then you first need to leverage from the top and pull out a LITTLE the piece of plastic. Here you will see that there is a firm which is slid toward you to release the piece and then you can remove the whole.
- Open the visor and unscrew the screws holding the map and still attached to the ceiling. One of two screws is covered by a lid comes off and just leverage.
- From the ceiling remove the plastic member closest to the windshield (as mentioned in paragraph https://www.spamalot.it/blog/?p=288)
- Pass the mic and cable along the perimeter of the roof will be “free” to go down because not bound by the fin screws, and if you open all the lighting and light.
- Clip the microphone in the housing cover.
- DO NOT PASS THE STILL OF THE AIRBAG WIRE INSIDE: you are very close to the windshield as you leave the roof and NOT go near the thread to return inward until you reach the triangle glass.
- Housed in the unit UHP4 space (gap) near the post (using the best dedicated support).
- Replace and re-screw the ceiling light and the sun visor.
- Connect the 32 pin connector to the ECU UHP4
- Close the cover being careful to lock THE SAFE connector (avoiding unpleasant consequences in case of detonation of the airbag)
- Connect the female connector ISO connector of your machine and this piece housed within the compartment under the radio being careful not to interfere with the mechanisms of conditioning. Also, be careful to route the cables through the holes in the frame so that the radio is not hindered during insertion.
- Connect the other ISO car radio.
- Place the radio in his room helping hand from the glove box for the wires.
- eplace and tighten the glove compartment.
Less is done (joke). Now try to turn on the ignition and the radio. It should work as before (unless you turn on the radio check the ISO connector).
Go to an Opel/Vauxhall dealer to change the following parameters with the Tech2:
CIM -> mid speed canbus -> Mobile phone portal present
EHU -> mid speed canbus -> Mobile phone portal present
EHU -> Variant configuration -> Mobile phone portal present
DIS -> mid speed canbus -> Mobile phone portal present
DIS -> Variant configuration -> Mobile phone portal present
UHP -> mid speed canbus -> Mobile phone portal, EHU, present DIS
UHP -> VIN number programming
UHP -> Variant configuration -> English/Italian/… Language
UHP -> Variant configuration -> Bluetooth on
UHP -> Code Index -> 001_02
EHU -> Activation theft protection (use the code on your machine)
FINISHED
At this point if you press the button with the “square” and the symbol of a speaker a voice will tell you that no phone is connected.
Enter the menu dell’UHP4 to activate the pairing of your phone (the default code is 0000 but you can change) and to call.
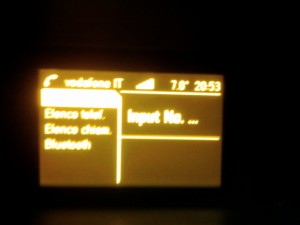
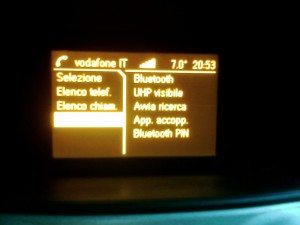
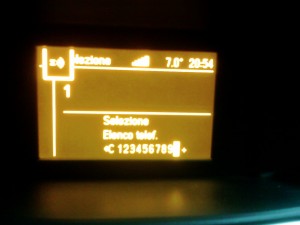
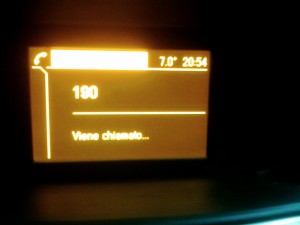
Here is a sequence of photos showing some screens (you can just update it with pictures in detail later)
Needless to say: I ‘m not responsible for damages that may occur during and after the procedure or to persons or to property. It ‘s all at your own risk. It is suggested to do everything a professional staff. The modifications to the vehicle manufacturer’s warranty.
Acknowledgments: It is fair to say that had it not been for Pecky would not be able to accomplish everything. Go visit his site http://www.diagnostics.org.uk


Thursday February 2nd, 2012 at 08:04 AM
Ciao, grazie per la guida.
Ma la centralina messa li non si muove?